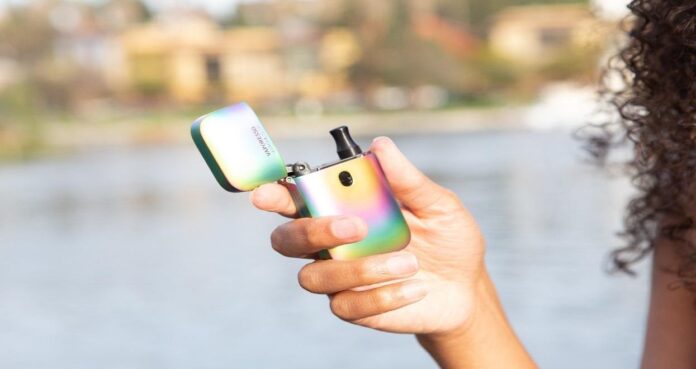
Vapes are revolutionary devices that have hit the market and completely changed how we consume nicotine. Before then, we relied on pretty easy cigarettes to use—mainly because they are disposable! Currently, we have vapes and e-cigarettes that you can use more than once for as long as they can serve you.
However, most of these vapes require pretty good maintenance. For instance, you have to consistently clean them, especially the vape tank, to ensure long-term usage and performance. Besides, the vape coils may not need frequent changing as most of them are durable. But if you start feeling the burnt taste of your coil, then it’s time to consider a replacement.
Vape Coils and their Functioning
The current vaping devices, including the cheap disposable vapes, comprise a vape tank, vape juices, and a heating coil. All these features vary depending on the vape device quality. However, they all perform the same function in ensuring you enjoy a great vaping experience.
A vape tank is responsible for a consistent supply of e-liquid. It helps if you regularly clean it to avoid any impact on your e-liquid’s flavor. Vaping Coils are, however, one of the most crucial parts of any vaping device. The coils comprise a wire and a wick enclosed in the mod’s cartridge.
A good vape coil should be made from a high resistance wire. This material will tell a lot about the vape quality and how long it may last. If you’re new to vaping, you also ought to know the importance of maintaining your coils for a smooth vaping experience. Sometimes you may utilize a coil for a long time until you start feeling an awful taste.
The change of taste in your e-liquid flavor, among other signs, means your vape coils are getting overrun. After all, a vape coil won’t serve you for eternity. Depending on your vaping tendencies, a week to a month is enough to get new coils. Failure to replace your coils can lead to numerous problems with the device and affect your vaping experience altogether. Find out more on how to replace the coil in our simple guide below.
- Disassemble the Vape
Changing the coil requires you first to disassemble the vape and have access to its internal parts. You’ll find the disassemble process well stated on the device packaging. Refer to these guidelines on how to handle the process to avoid messing with any part.
If the packaging doesn’t provide any clear guideline on disassembling, start unscrewing the tank from the battery. But first, ensure you wrap a cloth or towel around the vape to prevent any spillages. Remember, you can only disassemble vapes with an open system.
- Empty the Vape Tank
After disassembling the vape, the next step is to ensure you drain everything from the tank. If anything, you want to change the coil when there’s no e-liquid. A trash bottle will be enough to provide storage for the e-liquid.
Emptying the tank also prepares it for the addition of a new e-liquid. This is so because you won’t re-use the juice drained from the tank. Clean the tank afterward in preparation for a fresh e-liquid and new coil. The whole idea behind emptying the tank is to ensure the coil changing process isn’t too messy.
- Pre-Soak Your New Coil’s Wicking Material
Placing the coil directly onto your vape may not be the best idea considering there’s heat inside. To prevent this, you should pre-saturate your new wick using 5-10 drops of e-Liquid. If your coil is more prominent, use more e-liquid.
Wait for about 60 seconds and remove the coil. Also, remember to use the same e-liquid you plan to refill your tank with to avoid mixing flavors. This way, you’ll make your work pretty easier while also preventing mixing the e-liquid flavors.
- Change the Old Coil with the New One
After all the above processes, the next thing is to remove the old coil from your vape. Carefully unscrew it from the bottom of your device without damaging any other part. Proceed to screw in the new one maintaining the same caution and care. While screwing, insert the coil into the bottom of your vape and twist it until it’s secure. Also, ensure the white cotton faces toward the tank.
To be safe, have a towel on standby if there is any spillage or e-liquid residue. This is important, especially if it’s been a while since replacing your last coil. You also want the coil to be tightly in place without overdoing it. This may affect your vape’s performance.
- Refill and Reassemble Your Tank
Once you have secured the new coil in place, you should fill the tank with an e-liquid and screw it back. Ensure it’s the same e-liquid you used when pre-soaking your wicking material. You can reassemble the entire vaping device for an improved vaping experience.
- Test Your Vape
After replacing the coil, fill your tank with an e-liquid and wait for 5-10 minutes. Test to ensure your coil is well intact and the device is in its proper shape. Remember to look out for any issues like leakages and continued burning.
Final Thought
Changing your vape coil is all about following simple steps. You’ll get accustomed to it once you learn to do it more often. However, seek help if you find any challenges replacing your vape coil.


